Simple Schematics
Preview and build Minecraft schematics
NeoForge · Fabric · Forge
 The field guide
From file to finished build.
- Your first schematicInstall the mod, load a file and position your preview.
- Place it preciselyMove, raise, rotate and mirror with the in-world tools.
- Build in CreativeFree pastes, deliberate options and protected undo history.
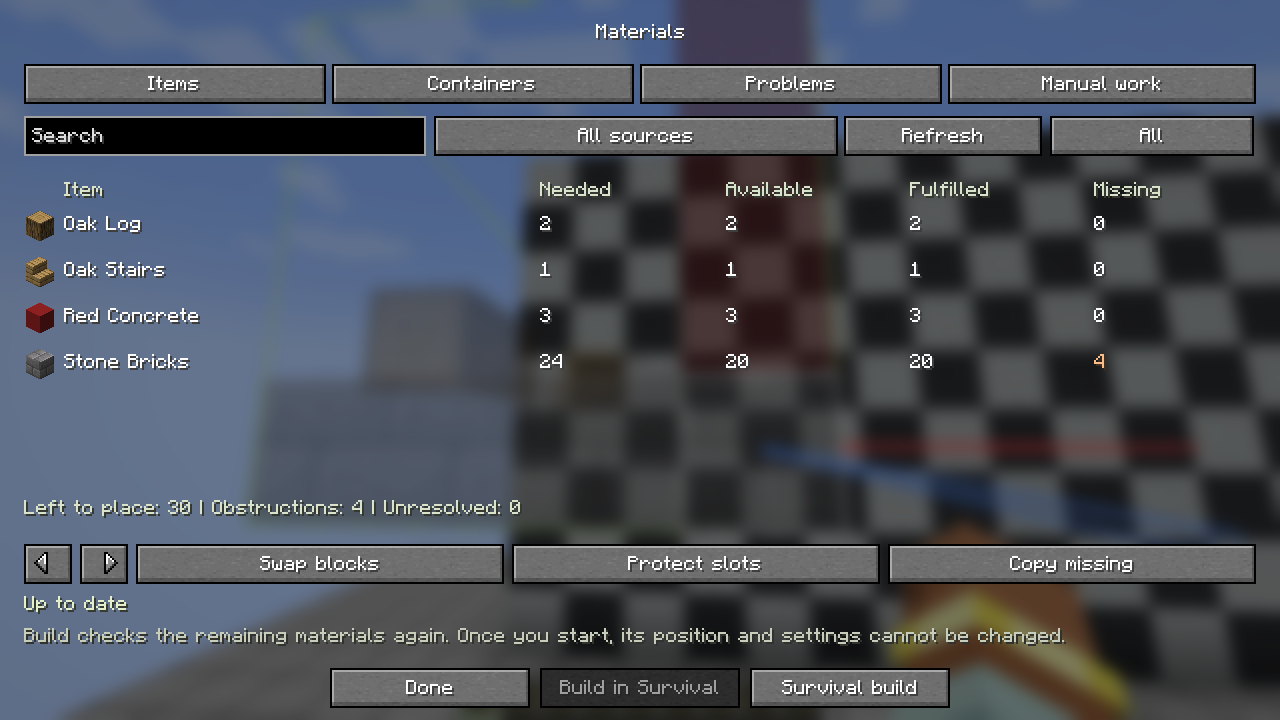
- Build in SurvivalChoose supply sources and start paid construction.
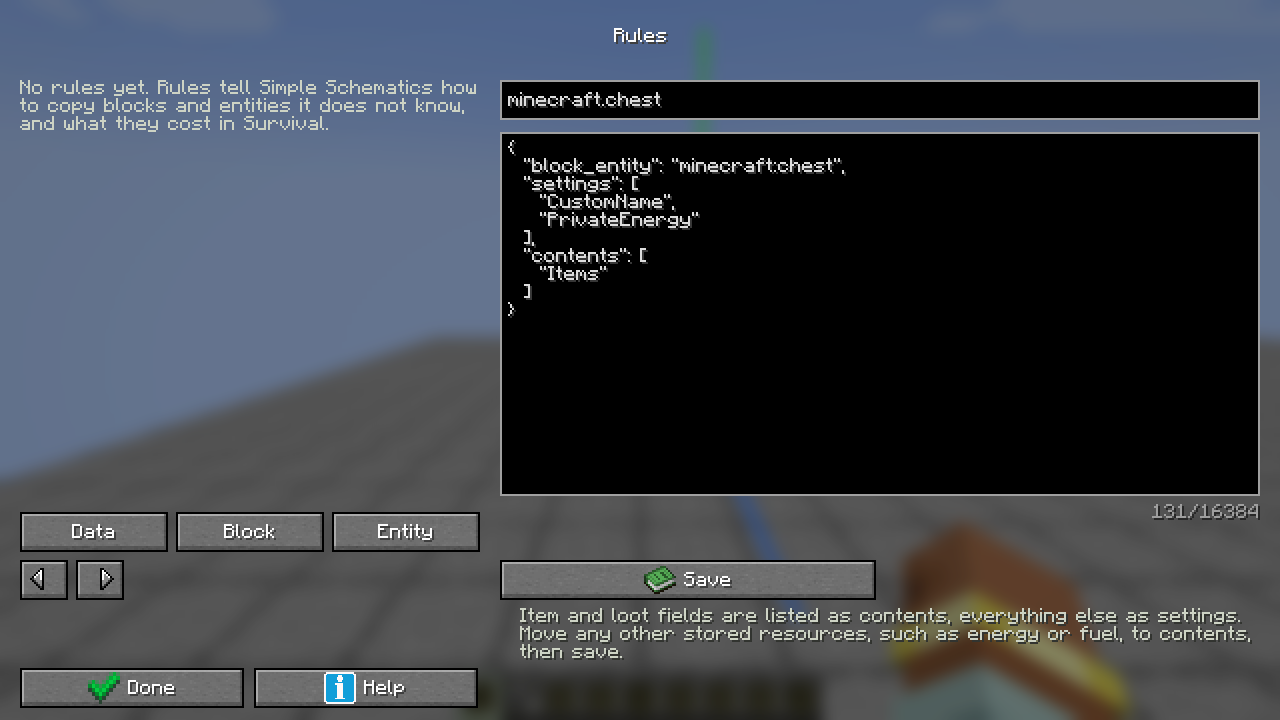
- Make unfamiliar data workComplete examples for data, costs and the rule editor.
- Build with redstoneOne print, a fixed output, or a row of paid copies.
- Bring your own designsMinecraft, WorldEdit, Litematica and older files.
- Build with your modsCompatible versions, special data and addons.
- Get moving againUnderstand import, material, rule and recovery messages.
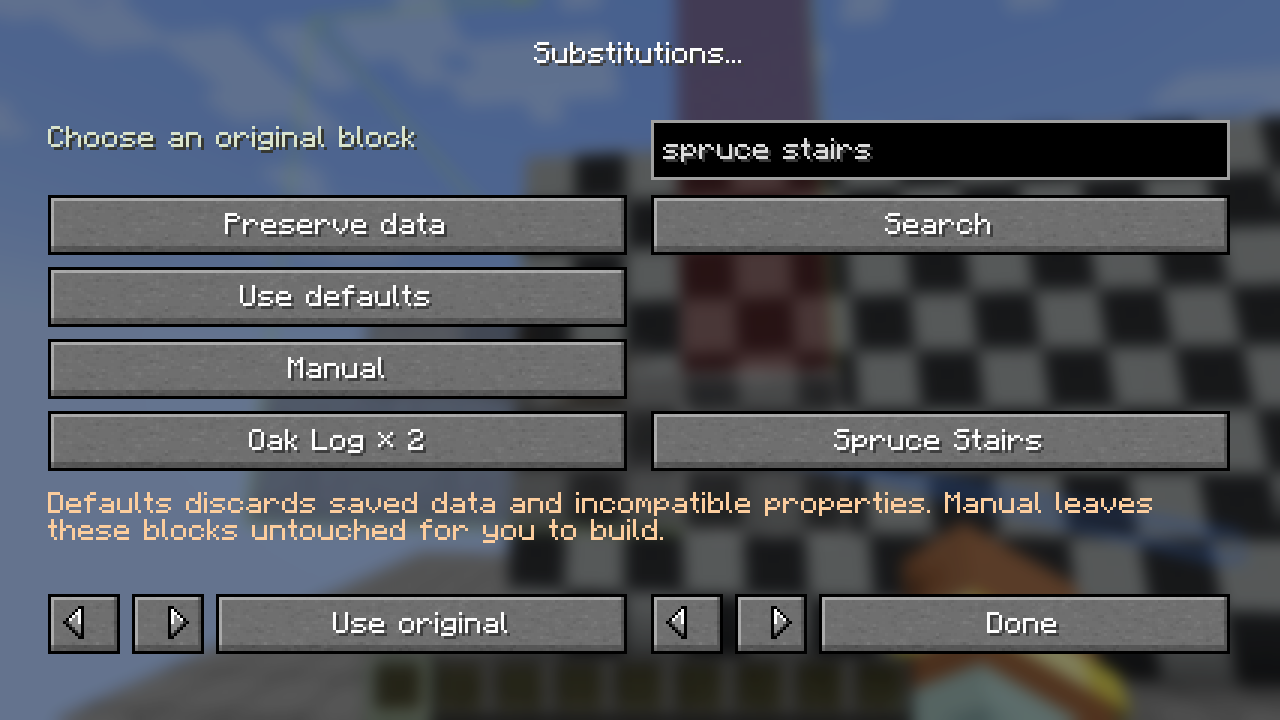
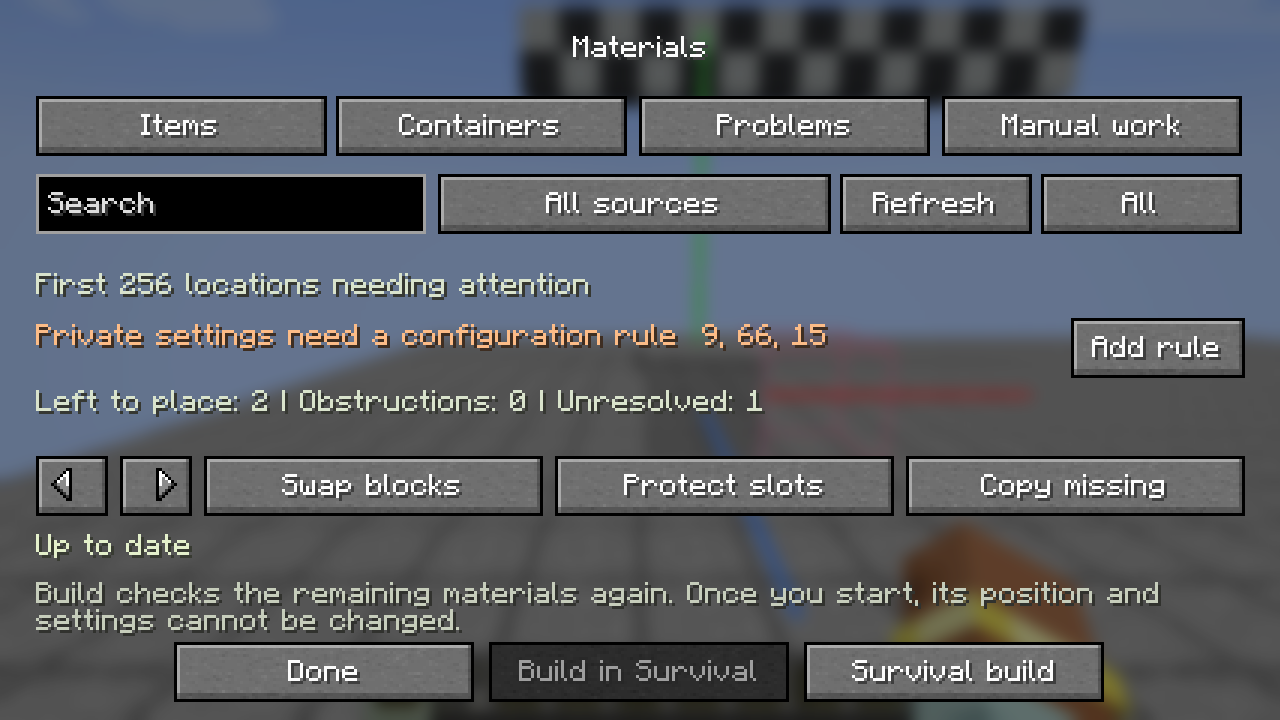
The first five minutes
A plan you can walk around.
- Put the file in schematics/Use your active Minecraft instance.
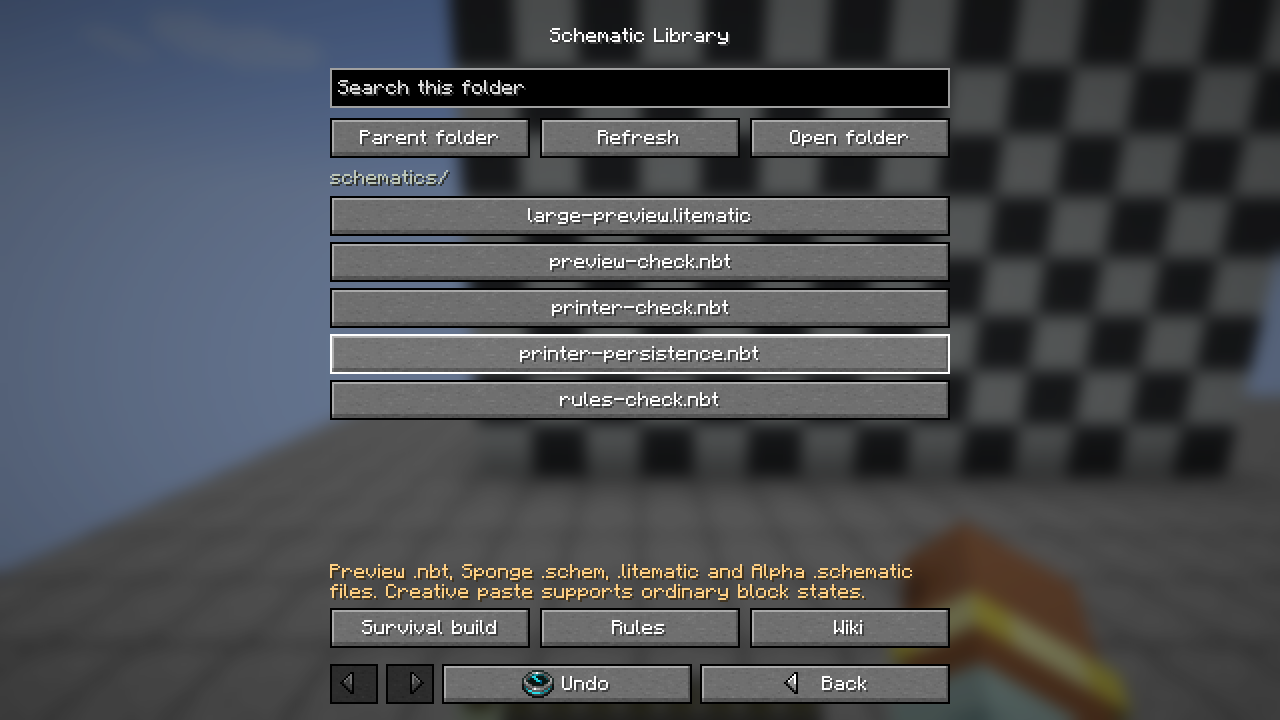
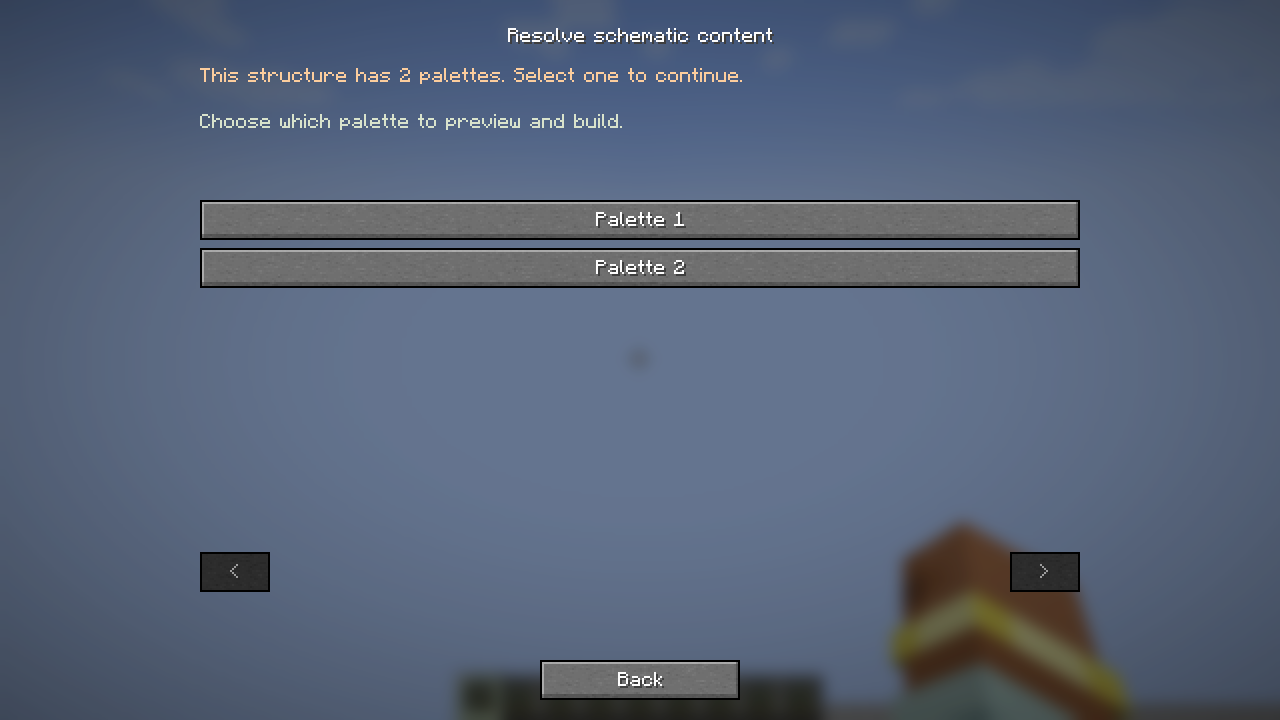
- Press V to open the libraryLoad your design and resolve import choices.
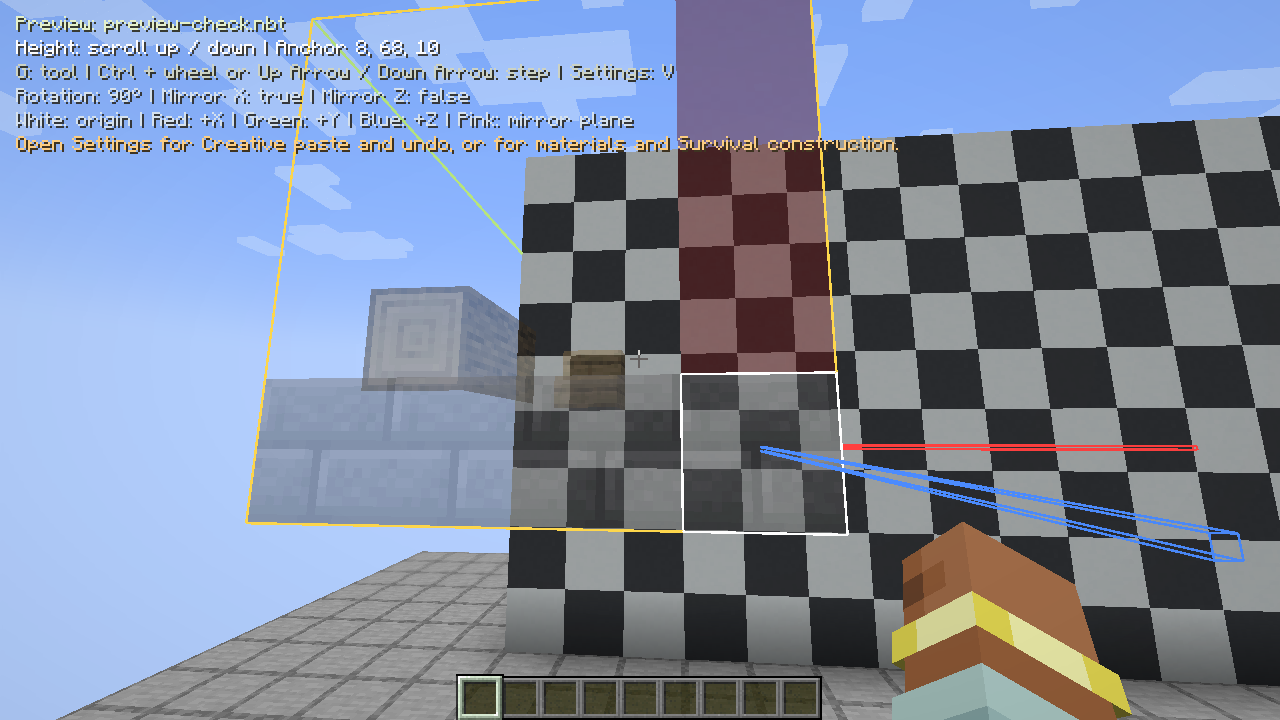
- Press G to choose a toolPosition, Move, Height, Rotate or Mirror.
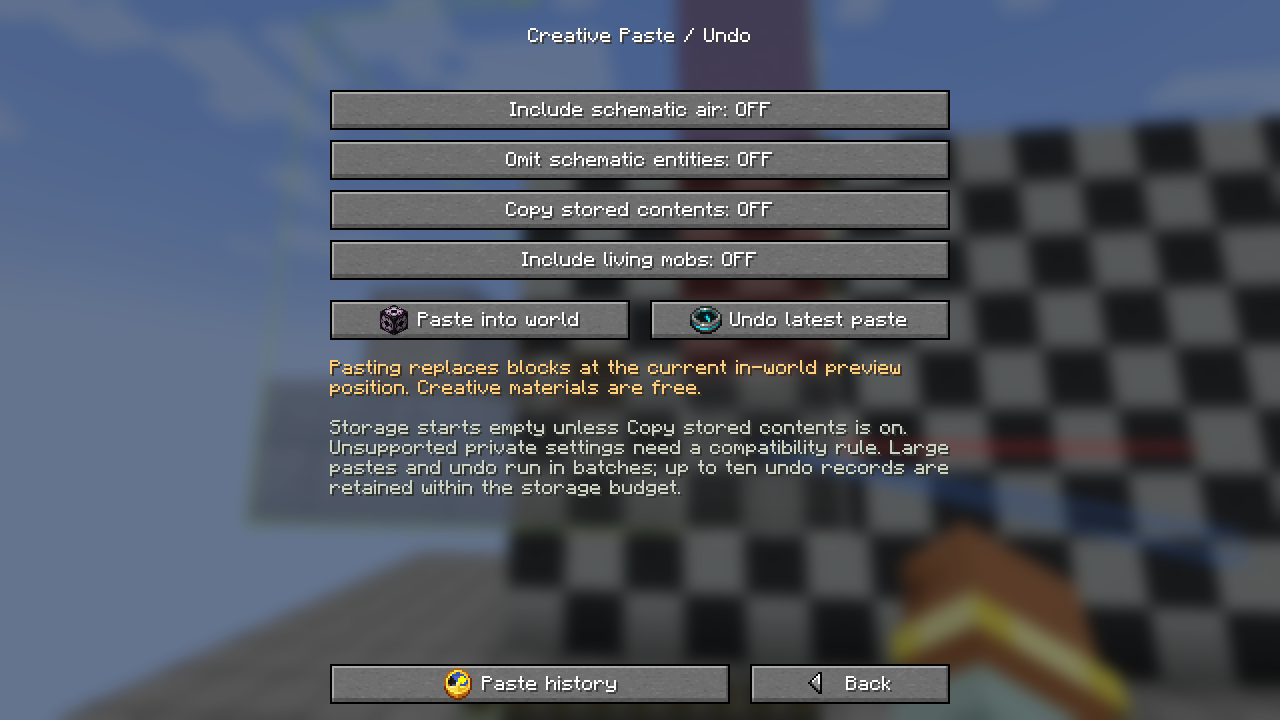
- Choose your build modeCreative paste, or Materials and Survival construction.
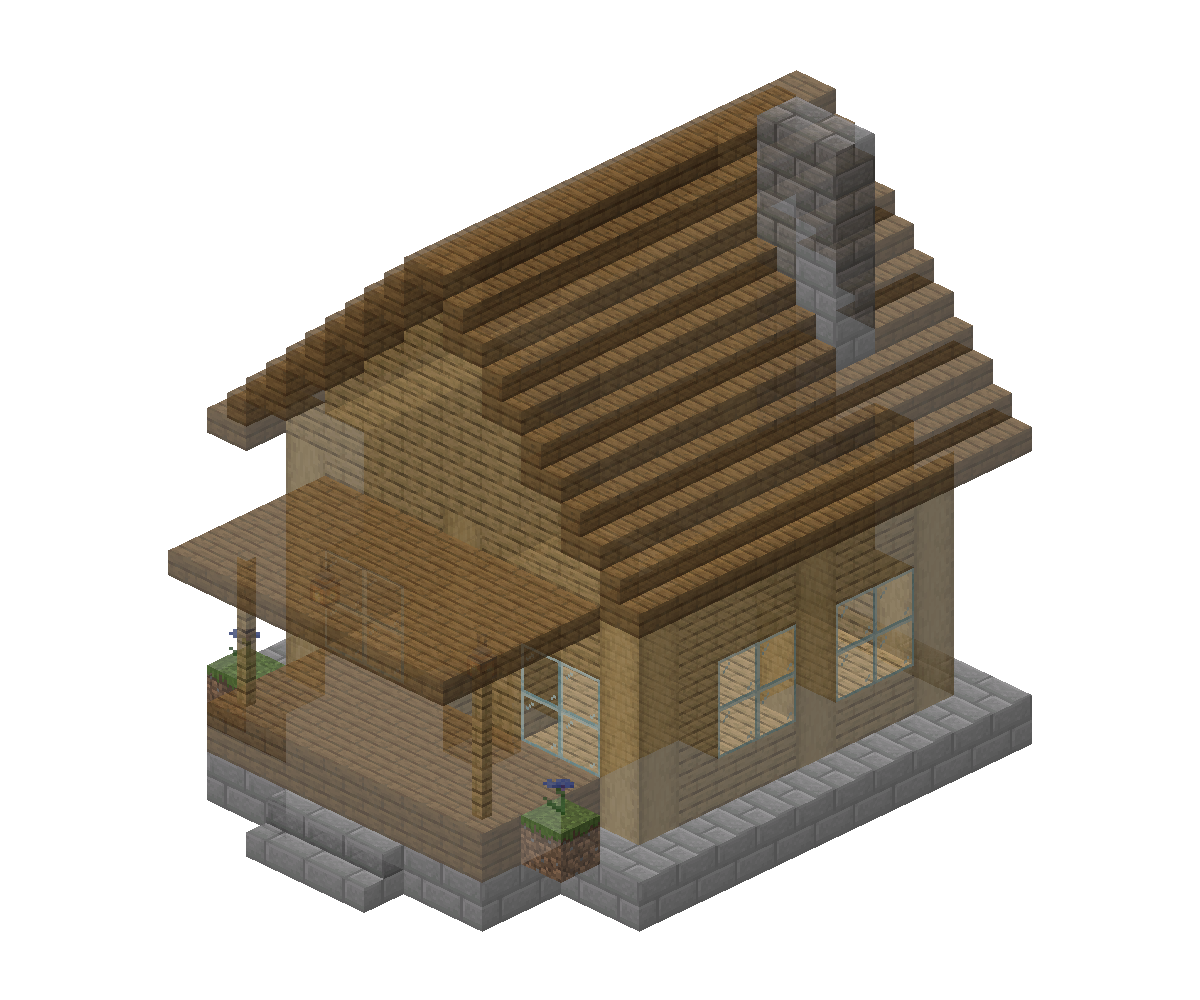
Walk around your plan
Check the preview before you build
Inspect your schematic as a transparent preview. Move, raise, rotate and mirror it before building; use layers and opacity to see the details.
Explore the preview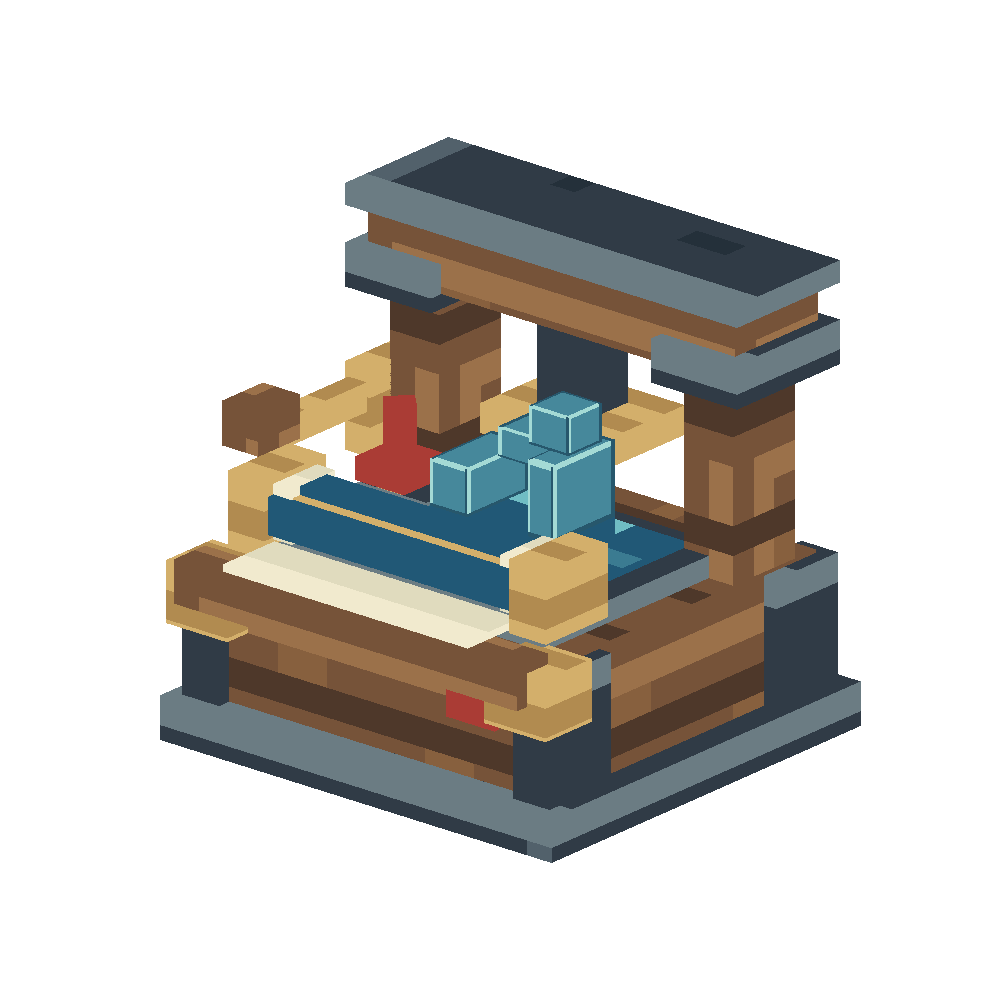
New in 0.2.0
Print schematics with redstone
Feed your build from nearby containers. Print once, repeat after the area clears, or advance the next copy by the spacing you choose.
Meet the Schematic PrinterFor server owners
Run it your way.
Configure work budgets, supply rules and compatibility. Upgrade carefully and keep your world’s saved work recoverable.
Server guideImport a design. Place it precisely. Build with the rules and materials you choose.